MIL-DTL-20625B
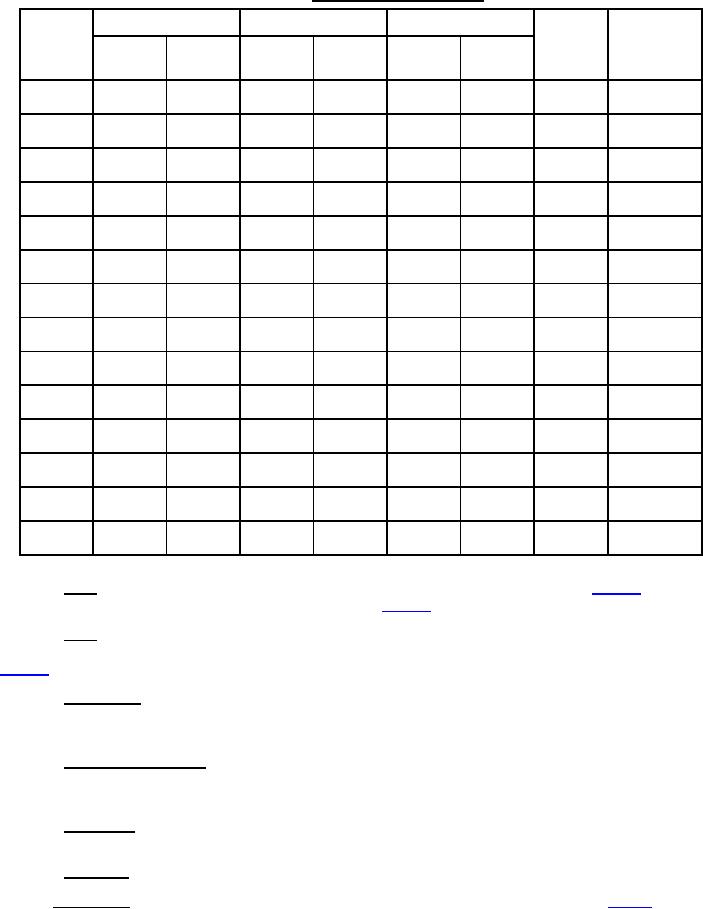
TABLE III. General dimensions (inches).
B, Overall Length
C, Hole Length
D, Hub Diameter
A, Shaft
E, Hub
F, Offset
Size
Length
Diameter
Classes
Classes
Classes
Class B
Class B
Class B
(max.)
Class B
Class B
A and C
A and C
A and C
/16
/16
/8
13/4
43/4
11/2
11/4
11/8
13/8
3
11
3
/4
/4
/2
43/4
11/2
11/4
11/8
13/8
1
3
1
2
21/4
43/4
11/2
11/4
11/8
13/8
/16
/8
5/
13
5
16
/8
/32
/4
211/16
43/4
11/2
11/4
11/8
13/8
3
31
3
/2
/8
43/4
11/32
11/2
11/4
11/8
13/8
1
7
3
33/8
43/4
11/8
11/2
11/4
11/8
13/8
/8
5
1
/16
31/2
43/4
17/32
11/2
11/8
11/4
11/8
13/8
9
33/4
43/4
13/16
11/2
11/4
11/4
11/8
13/8
/4
3
41/4
43/4
111/32
11/2
11/2
11/4
11/8
13/8
/8
7
63/4
19/16
21/4
13/4
13/4
13/4
1
5
2
11/4
57/16
15/8
21/2
21/4
17/8
23/4
8
2
11/2
25/32
21/2
21/2
21/4
17/8
23/4
7
8
13/4
211/16
23/4
23/4
21/8
31/8
9
9
3
105/8
31/8
2
----
----
4
----
----
----
3.3.1 Sizes. Universal joints shall be designated by the outside diameter of the hub (see D of table III). For a
given shaft size, the joint shall be equal to or larger than that in table III, as specified (see 4.2.1 and 6.2).
3.3.2 Hubs. Unless otherwise specified (see 6.2), the joints shall be furnished with the hubs machined with
centers but not drilled for shafting. When specified (see 6.2), the diameter and length of the hubs shall conform to
3.3.3 Bearing pins. The bearing pins, when assembled with the hubs and block, shall not project outward
beyond the yoke and shall be positively secured in operating position so that operation will not cause the pins to
become loose or drop out (see 4.2.1).
3.3.4 Dimensional tolerances. Clearance permitted between pins and holes shall be 0.001 inch maximum.
Clearance between block and yoke shall be 0.004 inch maximum. Pins may be off-center 0.005 inch maximum. All
other dimensions shall be ±0.020 inch (see 4.2.1).
3.3.5 Lubrication. An oil passage shall be provided in one of the pins through which a lubricant may be
applied to the working surfaces (see 4.2.1).
3.3.6 Fastenings. Set screws shall not be used in universal joints (see 4.2.1).
3.4 Performance. The universal joint shall be capable of transmitting the static torque shown in table II at the
indicated angle without rupture, permanent set, or other evidence of failure (see 4.3.2).
4
For Parts Inquires call Parts Hangar, Inc (727) 493-0744
© Copyright 2015 Integrated Publishing, Inc.
A Service Disabled Veteran Owned Small Business