MIL-DTL-20625B
3.4.1 Backlash. The universal joint shall exhibit no more than the maximum backlash set forth in table IV (see
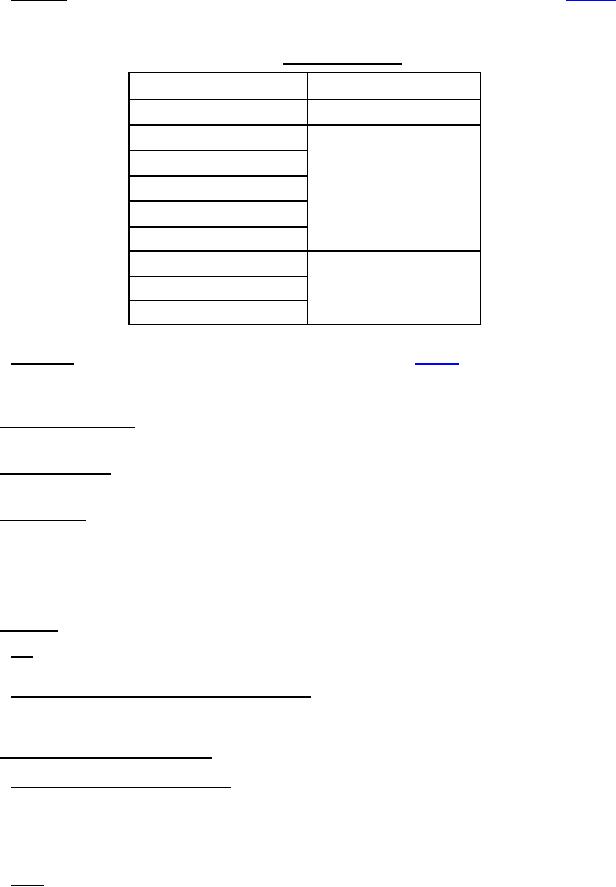
TABLE IV. Maximum backlash.
Hub Outside Diameter
Backlash (Degree)
/8 �
3
0.6
1
11/8
11/4
11/2
0.5
13/4
2
21/2
0.3
3
4
3.4.2 Efficiency. The universal joint shall transmit the torques shown in table II with an efficiency of not less
than 98 percent with the axes of the hubs at 180 degrees, and 80 percent with the joint at an angle of 150 degrees
between the axes of the hubs (see 4.3.2).
3.5 Identification marking. Each joint shall be permanently and legibly marked with the manufacturer s name,
trademark, or symbol in accordance with MIL-STD-130 (see 4.2.1).
3.6 Surface roughness. All nonworking-machined surfaces shall have 125-microinch finishes or better, bearing
surfaces shall have 32-microinch finishes or better (see 4.2.1).
3.7 Workmanship. Workmanship shall be in accordance with high grade commercial practice governing this
type of material. Each universal joint shall be uniform in quality and temper and shall be free from burrs, silvers,
gouges, porosity, cracks, objectionable scale, or any other defects which may adversely affect serviceability (see
4. VERIFICATION
4.1 Sampling.
4.1.1 Lot. All joints of the same class and size presented at one time shall be considered a lot for purposes of
acceptance inspection and tests.
4.1.2 Sampling for visual and dimensional examination. A random sample of joints shall be selected from each
inspection lot of material offered for Government inspection in accordance with MIL-STD-1916 at Inspection
Level III for lots of 170 and under and Inspection Level II for lots over 170.
4.2 Lot acceptance inspection and tests.
4.2.1 Visual and dimensional examination. Each of the sample units selected in accordance with 4.1.2 shall be
visually and dimensionally examined to verify compliance with this specification. Any unit in the sample
containing one or more visual or dimensional defects shall be rejected, and if the number of defective units in any
sample exceeds the acceptance number as specified (see 6.2) for that sample, the lot represented by the sample shall
be rejected.
4.2.2 Tests. Each of the sample joints selected as specified in 4.1.2 shall be subjected to the tests specified in
4.3 to determine compliance with this specification. Any unit in the sample containing one or more defects shall be
rejected, and if the number of defective units in any sample exceeds the acceptance number as specified (see 6.2) for
the sample, the lot represented by the sample shall be rejected.
5
For Parts Inquires call Parts Hangar, Inc (727) 493-0744
© Copyright 2015 Integrated Publishing, Inc.
A Service Disabled Veteran Owned Small Business